Vinyl Decal Installation Instructions
1. CLEAN:
Wipe the surface thoroughly with rubbing alcohol or soap and water. Do not use Windex or similar products as they will prevent the decal from adhering securely to the surface.
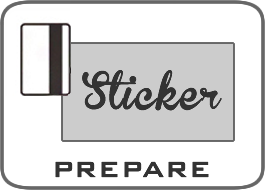
2. PREPARE:
Firmly rub a credit card across the clear transfer tape side of the decal to remove any air bubbles that may have formed.
3. REMOVE:
Carefully remove the paper backing from the decal leaving the decal attached to the clear transfer tape. (If the decal clings to the paper backing, slowly reverse the peeling process. Squeegee and continue removal.)
4. APPLY:
Apply the decal to the surface with both hands. Place the center of the decal to the surface first, then gently lay down the edges. With a squeegee or credit card, rub the decal on the surface from the center to the edges.
5. PEEL:
Slowly peel the clear transfer tape off the decal at an angle. Use caution to not pull the decal off the surface. If the decal pulls away from the surface, reverse the process, repeat the squeegee/credit card process from step 4, and continue peeling carefully.
LARGE/WIDE DECALS – USE THE (Center Hinge Method)
Place the decal with paper backing on the surface. Level the decal. Next, place a piece of masking tape down the approximate center of the decal as shown. Peel off paper backing of one side and cut off paper at hinge. Lay down that side and squeegee surface. Repeat these steps for opposite side. Remove tape hinge. Peel as in Step 5 above.
- For best results do not apply a decal in extremely cold or hot conditions.
- For best results apply to a clean smooth surface.
REMOVAL – Peel the edge and gently remove at a downward slanted angle. For any remaining decal residue use rubbing alcohol or Goo Gone for complete removal.


